Configure the Key File
In the ${HOME}/ directory, create a .passwd-s3fs file. The file format is [API public key: API secret key]。
Example:
 [root@10-9-42-233 s3fs-fuse-1.83]# cat ~/.passwd-s3fs
 AKdDhQD4Nfyrr9nGPJ+d0iFmJGwQlgBTwxxxxxxxxxxxx:7+LPnkPdPWhX2AJ+p/B1XVFi8bbbbbbbbbbbbbbbbb
Set read and write permissions for the file.
chmod 600 ${HOME}/.passwd-s3fsPerform the Mounting Operation
Explanation of operation commands:
-
Establish the US3 mount file path
${LocalMountPath} -
Obtain the name of the created storage space (Bucket)
${UFileBucketName}Note: The space name does not include the domain name suffix. For example, if the US3 space name is displayed as
test.cn-bj.ufileos.com, then${UFileBucketName}=test -
Execute the command.
The parameter descriptions are as follows:
s3fs ${UFileBucketName} ${LocalFilePath}
-o url={UFileS3URl} -o passwd_file=~/.passwd-s3fs
-o dbglevel=info
-o curldbg,use_path_request_style,allow_other
-o retries=1 //Number of error retries
-o multipart_size="8" //The size of the segmented upload is 8MB, currently only this value is supported -o
multireq_max="8" //When the uploaded file is larger than 8MB, segmented upload is used. Currently, the S3 access layer of UFile does not allow a single PUT file to exceed 8MB, so this value is recommended to be filled in
-f //Indicates foreground execution. Omit it for background execution
-o parallel_count="32" //Number of parallel operations, which can improve the concurrent operation of segments. It is recommended not to exceed 128
Example:
s3fs s3fs-test /data/vs3fs -ourl=http://internal.s3-us-ca.s3stor.runc.ai (opens in a new tab) -o passwd_file=~/.passwd-s3fs -o dbglevel=info -o curldbg,use_path_request_style,allow_other,nomixupload -o retries=1 -o multipart_size="8" -o multireq_max="8" -o parallel_count="32"
Mounting effect
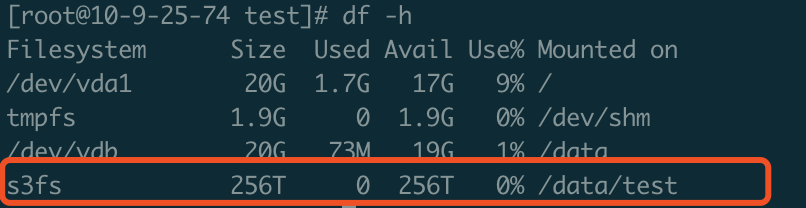
Execute the df -h command, and you can see the operation of the s3fs program. The effect is:
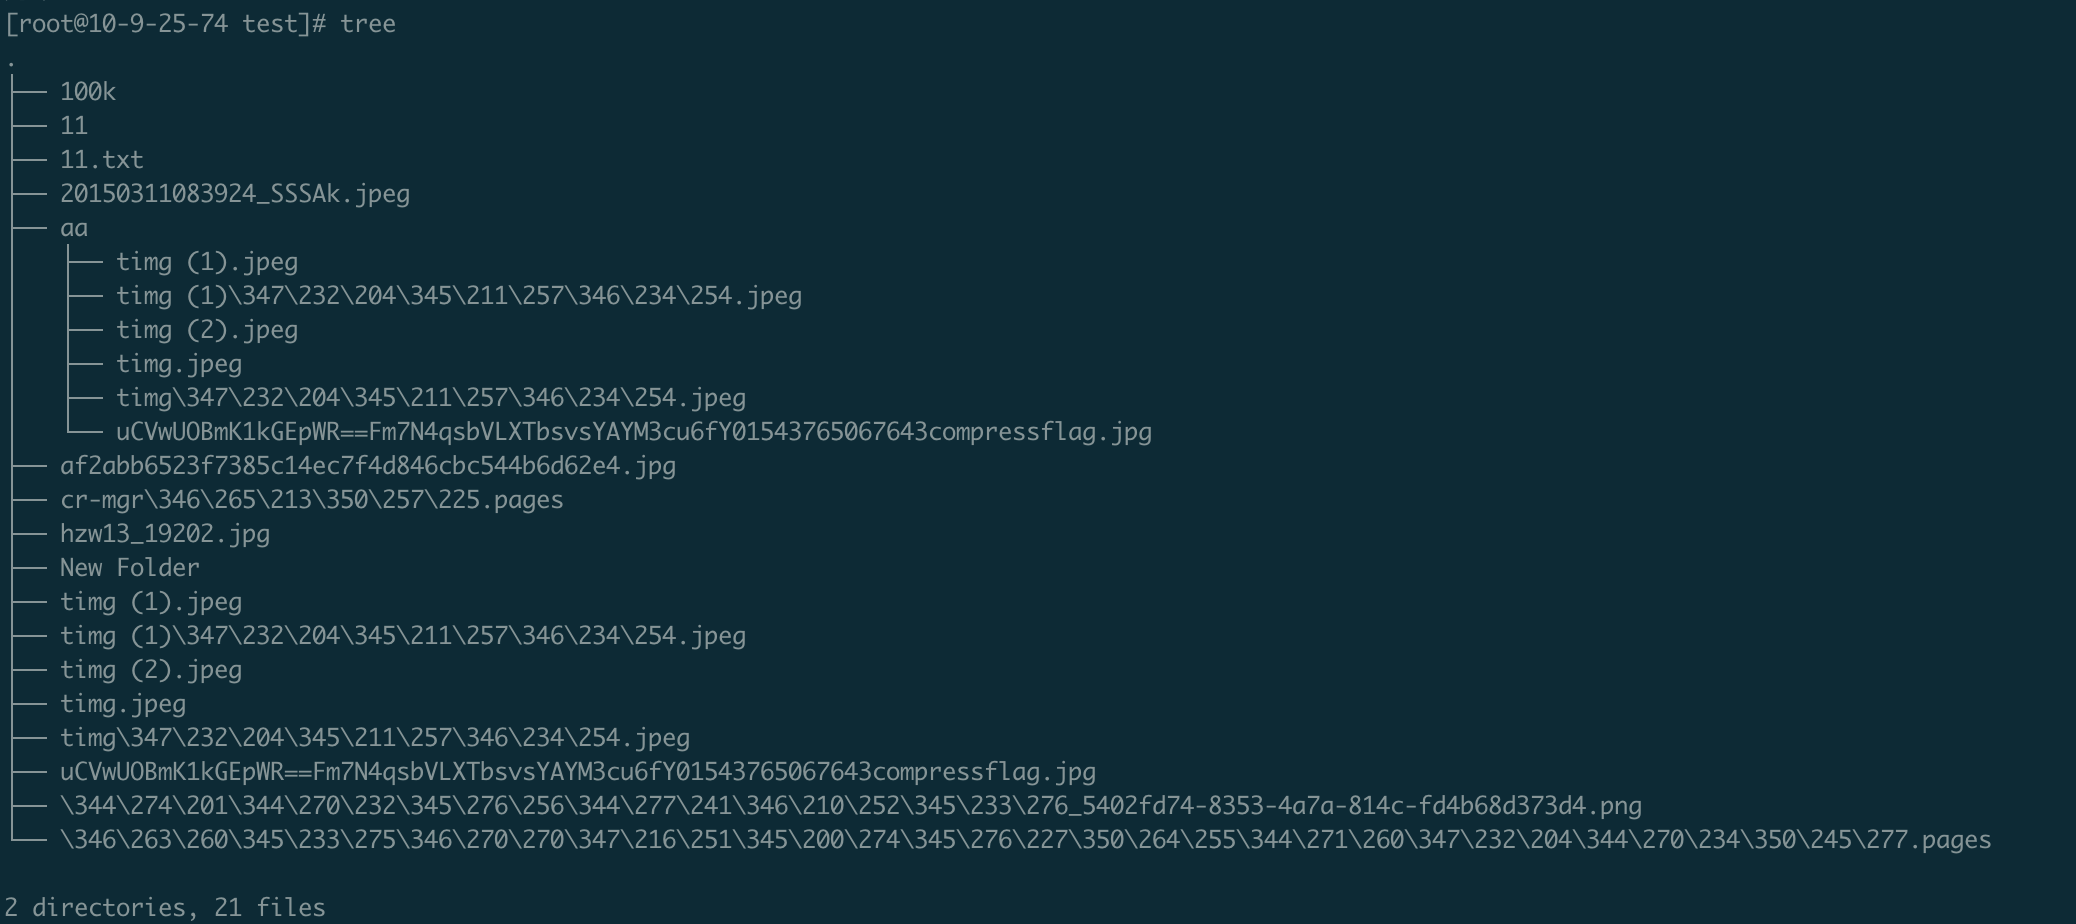
At this point, you can see that the files in the /data/vs3fs directory are consistent with the files in the specified bucket. You can also use the tree command to view the file structure. The installation command is: yum install -y tree. The effect is: