Upload Data
JupyterLab Upload
Not all instances support the JupyterLab application. This depends on the image you choose. Generally speaking, Container images support JupyterLab login.Uploading files via JupyterLab is similar to using a network disk. Its advantage is simplicity, but it only supports file uploads and does not support folder uploads.
- Open the Instance list page
- Find the instance to which you need to upload data
- Locate the JupyterLab application and click on it to log in
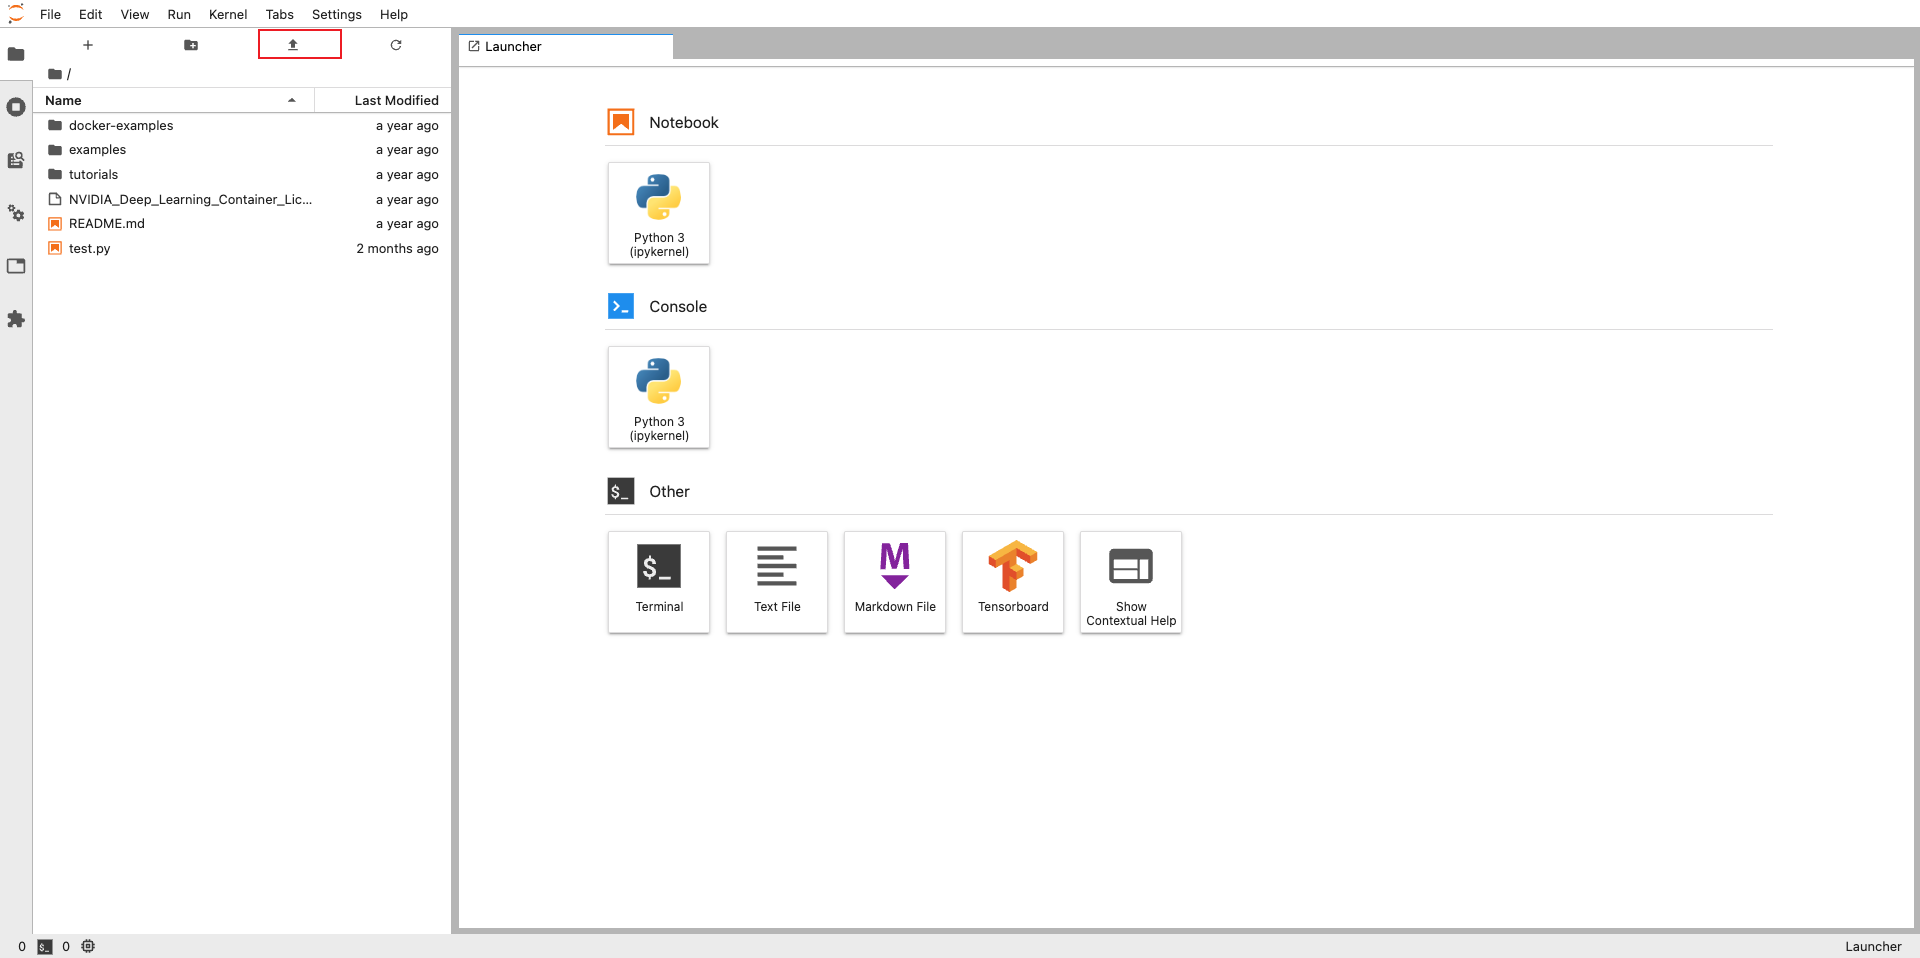
- Click the upload button in the top-left corner, as shown in the figure below
SCP Remote Copy
SCP (Secure Copy Protocol) is a file transfer protocol based on SSH (Secure Shell Protocol), which is used to securely transfer files between local computers and remote servers. It provides strongly encrypted file transfer functions through SSH, ensuring that data will not be eavesdropped on or tampered with during the transfer process.
SCP Installation
Linux users can directly enter commands in the command line. If you are a Windows user, by default, the SSH client is not installed in the Windows system. It is recommended to download and use the Cmder tool (opens in a new tab), which can be used directly after decompression without installation.
SCP Usage
- Open the Instance list page
- Find the instance to which you need to upload data
- Power on the instance and find its external network IP address. For an instance created from a model image, the username is root and the port number is 23.
- Open the terminal on your local machine.
- Enter the following command:
scp -rP <port number> <local file/folder path> <remote username>@<instance external network IP address>:<instance target path>
Example:
scp -rP 23 myfile.txt root@192.168.1.1:/home/root/ - Download the
myfile.txtfile on the local computer to the instance with the IP address192.168.1.1. The username of the instance is root, the port is 23, and the download path in the instance ishome/root - Copy the data from the instance to the local computer:
`scp -rP
@ :<file/folder in the instance> <local file/folder>
Upload Object Storage
Object storage can establish a channel for file transfer between instances. You can upload files to a Bucket or download files from a Bucket to your local device. Once a file is uploaded to a Bucket, all instances that are mounted to the Bucket can immediately see the file.
- Create a Bucket (opens in a new tab)
- Click the option to upload files, and then directly drag the local directories or files you need to upload to the corresponding area. If a file exceeds 500MB, please refer to S3cmd